Monday, July 10, 2023

Different Pruning Techniques

         When your plant gets about five to seven nodes tall you can prune it in order to change the hormones in the plant where it will change its growth pattern from straight up to more of the side branches going outward. Most growers do some sort of pruning as this usually increases the yield of the plant and the plant bushes out more. When growing indoors, you want to utilize the most room in your space horizontally and pruning is an excellent way to do that. I will cover some of those methods here today.


TOPPING METHOD

        Above is an example of a topped clone. Basically, you pinch off the top of the main stem and the two nodes start to replace the one main node. This usually stunts the plant some but if the plant is healthy enough it will recover pretty fast. It's better to make sure that your plant is healthy and growing at a good rate before topping. The plant diverts its hormones now to lower nodes and you will begin to see lower growth the plant will still get taller, and you will see more of a bushy plant. This is good when you're trying to fill in the extra horizontal space in your grow area


Low-Stress Training

                                    AN EXAMPLE OF LOW-STRESS TRAINING


        With low-stress training instead of cutting or pinching the main stem your bringing the top of the main stem below the rest of the nodes by bending it downward. By doing this you change the plant's hormones to divert to make the other nodes start to grow out. In the photo above you can see that some duct tape was used to pull the main stem tip downward and hold it there.  The tape is on a fan leaf but it is enough to cause the lower nodes to stretch and grow towards the light. Some prefer this method because it saves time and doesn't stress the plant as much. I personally do more topping than low-stress training. I don't mind the slowdown in growth that happens for a few days to a week. It allows time for other plants in my grow to catch up in growth or the delay helps for other purposes such as a room in the flowering room.


SUPER CROPPING TECHNIQUE


                              AN EXAMPLE OF A SUPER-CROPPED PLANT


    Supercropping is useful to increase yields but is a little more risky and it causes more stress on your plant. Above you take a branch and gently snap the branch far enough to bend it 90 degrees so it looks like a right angle. When the plant heals, it will be harder right at the bend site and will make the branch stronger and able to hold more weight. Also, the bend will allow lower nodes to get more light. This is one of my favorite techniques to use. Some strains do not respond well to super cropping and the only way to know is to try it. It takes a level of faith to break a branch and believe it will heal. Sometimes a branch won't recover and heal up well. If this happens then I wouldn't recommend proceeding with other branches. On occasion, I will accidentally bend a branch too far and will lose a branch but I find 95 percent of the time I'm successful. So if you're not comfortable trying this then it's fully understandable.


     These were just a few of the pruning techniques but I would say the main ones I have heard of. I often use a mix of topping and super cropping. You will learn with experience and practice. Happy Pruning!


Saturday, July 1, 2023

Soil/Dirt/Hydro. Which one?


    I grow organic and some in Coconut fiber, not hydro. Hydro will give you excellent yields. It also grows faster. I like the flavor of organically grown cannabis. I have grown in hydro a few times because I wanted fast growth and big yields, but the taste was not good. There was a harshness in the smoke. Soil is the most forgiving of the three methods. Hydro is the least forgiving, in the sense that if you don't have the right level of nutrients, the deficiencies in the plant will appear faster.

      With soil, you can have all your nutrients in the dirt or container and only add water throughout the process. I like to transplant from a 1-gallon pot to a three or five-gallon pot and put some dry amendments at the bottom of the container. It will enable extra nutrients that the roots can utilize the food from the bottom as it pleases once they reach the bottom. You can also top dress or put dry nutrients at the top of the soil. You can buy dry amendments online or at a local hydroponics shop. They have nutrients specific for the vegetative state and flowering stage. I like to use dry amendments from the Down To Earth brand because they have everything I need. There are a lot of other great dry nutrients.  


    Using the all-organic dry nutes allows the bacteria in the organic soil to break down the nutrients for the roots to utilize is a more natural approach. You can also use spikes in the organic soil to allow the roots to access more nutrients. 


    Another thing I like to do is add mycorrhizal fungus to the roots when I transplant. This fungus attaches to the roots and helps the plant intake nutrients. It's like adding a bunch of surface area in the root zone to assist the plants' ability to get food. Having the Mychorrizal fungus also helps prevent transplant shock and increases the ability to handle drought better.

Using coconut coir is the middle of the road between soil and hydro. As its name suggests, it's from the outer fiber of a coconut. You can get it online or at any hydroponic store. It's a great medium to use. My yields are usually better with coco coir. You can get a decent smoke when using it. The downside to me is using synthetic nutes and measuring nutrient amounts and PH levels of your nutrients. Some people have been able to mix soil and coconut fiber. With adding topdressing and adding other amendments. People have been getting good yields and quality somewhere between soil and coco. I have tried and found myself having nutrient problems by using straight coco and top-dressing. Experimenting is up to each individual.


    Another benefit of coco coir is you have fewer pests and bugs in the garden. The same goes for hydroponic. Organic soil tends to attract more fungal gnats and other bugs but there are ways to prevent that in soil. When growing with Coco, my environment is cleaner overall and less messy. Coco is a form of hydro called passive hydro. You will end up watering more because it will dry out faster. So you will do more work mixing nutrients, checking nutrient levels, and "ph" ing the water. The roots will get more nutrients and oxygen, leading to faster growth and bigger yields. The plants are being fed differently than by organic because the roots will just drink the nutrients provided verse having the bacteria and fungus work together helping assist the plant feed more naturally.


                      The outer part of the Coconut is used for Coco Coir

    Hydroponic is unique in that you grow the roots directly into a bucket or container full of water and use an oxygen bubbler to enable the roots to get plenty of oxygen. You add nutrients continually as the plant uses them up and you need to regularly use a meter so you can measure the levels. You also have to measure the ph of the water. You need to keep the water at the ideal ph level. The plant can absorb the maximum nutrients and oxygen for faster growth and better yields.


    Another form of hydroponics is called Aquaponics. In an aquaponic system, there is a fish in a tank, and their waste is pumped to the soil where the plants can utilize the feces from the fish. People are getting good results with that because it is a self-sustaining environment. Just keep the fish alive. The fish poop will provide the nutrients for the plant to thrive.


    These are the main ways to grow cannabis. I prefer to use the organic method. There are several ways that you can grow cannabis. Many swear by using hydroponics. Enjoy growing whichever way you choose how!


                                Mycorrhizal Fungus Powder


     This product has both soil and coconut coir


Sunday, June 25, 2023

What Size Container Should I Use?


small one-gallon pot

    The container size you should use with weed is dependent on many factors. Let us face it, we all want a good yield. We all want healthy plants too. So each situation is different. If you are growing outdoors, the best answer might be on the ground. You can get some monster plants like we have all seen. Outdoors, I would say to use at least 5-gallon buckets.


From my experience, An ounce of bud is grown on average per gallon of soil used. It is the overall gauge I go by. Medium, light, strain, and airflow can give or take away those yields. 


For example, if Im growing in a 4x4 tent, I may want to grow four plants in that space. I could let it fill out the room in the tent with vegetative growth, using one little bulb or some tiny led light, then I will not get the yield as I would if I used a 1000-watt HID bulb. I would get tiny wispy buds that didn't grow to their full potential. Say that we only vegged the plants a month or less in the 5-gallon buckets before flowering, and we used very cheap soil we got from a dollar retail store. Our results will not be at full potential because our plants were only 2 feet tall and didn't even utilize all the space in the 5-gallon bucket, and the soil was having problems, so the plants are experiencing stunted growth. Many factors contribute to yield. Pot size is one that plays into the whole picture.


I have grown several plants in one-gallon pots. I personally would get an average of ½  ounce to 1 ounce. The strain's genetics was a factor.


The medium you use will also play a factor. So can the kind of nutrients you use. If I use Coco Coir instead of soil, I can get a better yield in smaller containers. Is it worth sacrificing taste and terp profiles by doing so? Much of it depends on what your goals are regarding your legal grow in your area. In legal states, you are limited to different plant counts. In some states, they allow you higher plant counts.


Indoors a good start is with any grow in 3-gallon pots in soil minimum for flowering. Indoors, you could grow, a big, single female in your tent and prune it by using nets and ties(scrogging) and can use a 13-gallon pot and get a massive yielding single plant that yields a pound or two under a 1000-watt light. What is important is that you utilize all of the space that you are growing in and are able to get a sufficient amount of medicine without wasting too much water and electricity so that you, the grower, can pay a minimal amount for the maximum smokage to enjoy!

3-gallon pot

The good news is that you will improve as time goes by and learn all there is to grow. Much of that will be through trial and error.


   Some questions I ask when using only organic amendments to my soil. Is this plant going to get enough oxygen to the roots? Should I add more perlite to aerate it better? Should I mix in some Coco for aeration? Will my plants get root bound in a one-gallon? Will I have to water every day in smaller pots? What nutrient line should I use? Should I top-dress the soil?


These are just a few of the questions you will ask yourself when determining pot size.


Will my plant double or triple in height during the flowering phase? Will the Taller Sativa plants block out the light for the shorter Indicas?


5-gallon pot


I am using a mix of organic and some passive hydro with coco-coar and synthetic nutrients. My yields are higher using coco than in organics. I enjoy the flavor and smell more with using organic soil. But the yields are better to me grown in coco with nutrients. You can water more and run more water and nutrients, which helps the roots hold more oxygen. 


I still experiment with different methods, soils, and nutrients because I am searching for something better to improve. In a smaller container with organics, you can put some fertilizer at the bottom of the pot to provide nutrients toward the end of flowering. Use layering techniques or nutrient spikes to help provide extra nutrients in smaller containers. But you get the point. There is no set way. You will grow better from learning and trying different things. You will gain new knowledge with every attempt.


When deciding on container size, remember airflow, pests, light, grow space, plant count, medium, and other factors. If you do, you will be well happy with your result!


3 gallon Pot


Friday, June 23, 2023

Flowering Cannabis


    Flowering marijuana is the most enjoyable stage of growing for me and others. It's most enjoyable from the halfway point. On average, the flowering time is from 7 to 9 weeks. Depending on the strain you have. Indicas or Indica dominant hybrids tend to take around 7 to 8 weeks. Some heavy-yielding Indicas can take up to 10 weeks to flower. Pure Sativas and Sativa dominant hybrids can take up to 3 or 4 months to flower. 

When growing weed outdoors, you have the sun to signal the plant to start flowering. It does almost everything for you. With indoor growing, you have to simulate the sun cycle indoors by reducing the hours of light from 16 to 18hrs of light to 12 hrs of sunlight. Another important thing is to have an indoor light that is either a High-pressure Sodium bulb or a Led light with a red spectrum of light to simulate the end of summer and fall light cycles. Many good led lights have blue and red ranges within them to grow several light spectrums during the veg and the bloom stages.


     During flowering, the calyx, pistols, and preflowers will form. Flowering has started. The buds will appear as the plant is still growing. From the start of flowering to about week 3, there is a stretching period where the plant can double or triple in height. It's necessary to allow room for the stretch. Sativas tend to stretch more than Indicas. Indicas will sometimes double in height and don't stretch a lot.

    Around week four, you're usually about halfway through the whole process. During this phase, the plant will stop stretching and will put its energy into forming buds. You will see more buds and pistols until you reach a point where their hairs are pale and fluffy. It is around the halfway point and the peak period where reproduction would be ideal. When the female is ripening, you will slowly see a transition of the pistols slowly dying. The pistols are the fuzzy hairs that pop out of the bud itself. They want to get pollinated by the male. To get some of the most potent buds and most resin, it's better if it doesn't get pollinated by a male. Better bud without the seeds unless you are a breeder. Toward the end of the flowering phase, there will be buds swelling, the buds themselves growing trichomes on each bud, and more of the plant's terpene smells getting more pronounced.

    Flowering is the most exciting part because you see the buds form and stack. By observation, you can see how much the plant will yield. You can also see the structure and how frosty the buds will get. Finally, you can measure how strong-smelling the terpenes will be by the very end.

    Something to do when flowering begins is to keep feeding them higher nitrogen as you do during veg. After that change, their nutrients have higher levels of phosphorus and potash. The plant is forming the buds and stacking on that weight. Other nutrients during veg and flowering are Calcium and magnesium. 

    Another thing to consider is not to over-prune during this phase. You can stress out the plant, stunting its growth and affecting its potency. Don't prune more than a third of the plant matter during flower. 

                                                              Lunar Cookies

    During the final two weeks of flowering, you want to stop nutrients and give the plants water. Flushing allows for cleaner smoke because the plant will use the nitrogen in the leaves. That's why in the fall the trees turn yellow. With cannabis, this is natural and is the end of the life cycle for the plant.

By week seven, the buds will be swelling, and the trichomes should change colors.

    Week 8 is when the plant is ready to be harvested. I go by when about 80 percent of the hairs have died and curled back towards the bud. I use a loupe to look at the trichomes to know the colors. When they are clear, you will get more of a head high. When they are cloudy, they are at their peak potency. Some prefer to wait until the trichomes have turned amber, so they can get more of a couch lock effect when smoked or more of a messed up feeling because as the Trichome goes amber, the thc is degraded and is weaker smoke. 

The choice is yours on when you prefer to harvest. Waiting for the plant to be fully ripe and not harvesting it too early is difficult for most.


Tuesday, June 20, 2023

The Vegetative Phase


                                                                Topped Plant


    Once the young, vegging plants, roots are sufficiently developed, the cannabis plant will be able to uptake water and nutrients. The plant will develop quickly, resulting in an explosion of vegetative growth easily doubling in size week after week. This phase is called the Vegetative Stage.
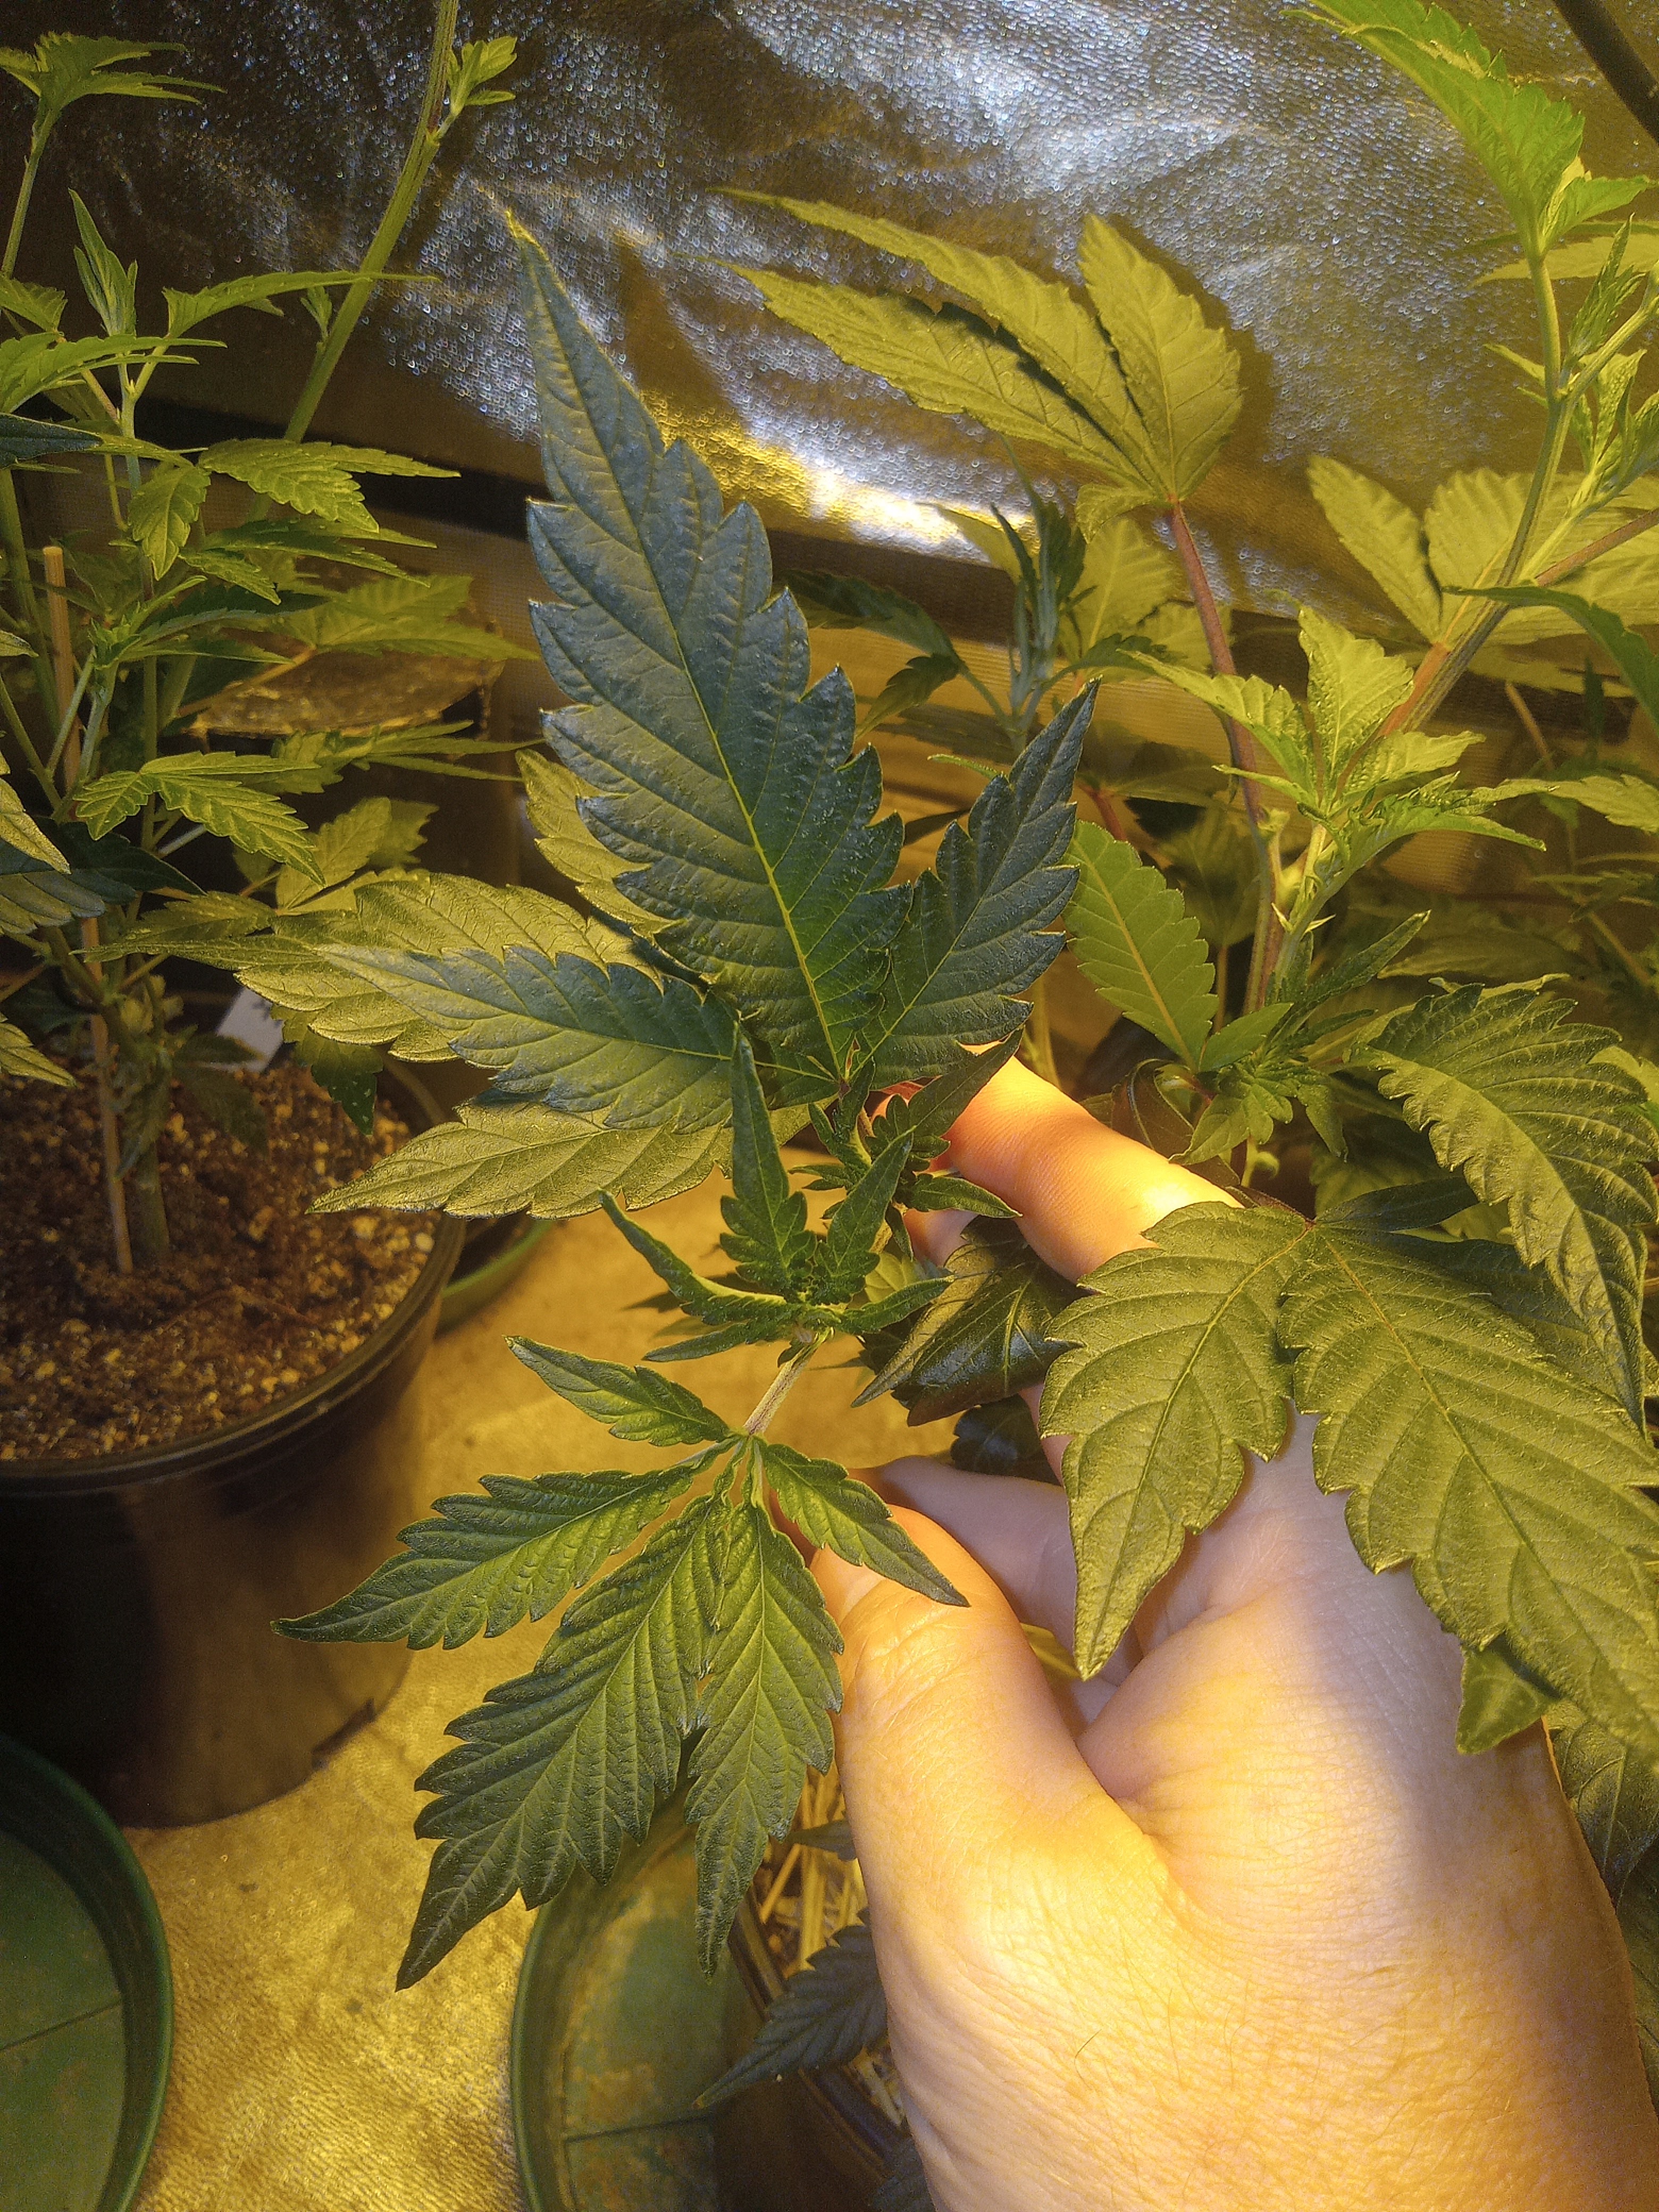

vegetative growth


    The vegetative stage for as long as the light cycle is over 12 to 14 hours every

day. So to be safe, you want to ensure that

your plants are getting at least 14 hours of light a day if you want the plant to keep growing larger, and getting larger is what the vegetative stage is all about. 


    The plant will only focus on developing more

stems and leaves during this time canvas plants also like an environment of around 70 to 80 degrees Fahrenheit a relative humidity range of 50-70 percent during the stage of growth, this makes the vegetative stage pretty

straightforward. You will only need to keep the plant growing until you are satisfied with the plant size.


     Several things can be done during this stage of growth to maximize the potential of the plant in any given space


Transplanting to a Larger Container


    The vegetative stage is when you want

your plant to move into its final container.

This means transplanting the plant into a larger container size.


    For others that started the plant in its final container, you can skip this step. To transplant a plant from a seed cell or small planter, you will need to remove all the plant roots and grow medium out of its original container and then bury it into the new container the transplanted plant from a nursery bag you can bury it directly into the pot without having to

remove it since the roots have no problems growing through this bag as for what planter size to go with this is tied to the size of the plant you plan on harvesting since the size of a

the plant compared to the size of its root structure.


    A three-gallon fabric pot can easily support a small to medium-sized plant a five-gallon fabric pot can easily hold a medium to large size plant


    Use a seven-gallon to grow a larger plant. It does not apply to plants growing with soil that has nutrients built into it. With these, the larger

the container, more nutrients can be taken up by the plant over time.


    The more nutrients available, the longer it can feed the plant.


Daily Routing and Feed Schedule


    You will need to feed your plant a growing

fertilizer rich in nitrogen. 


    Nitrogen is the primary nutrient needed for leaf development.


    Most organic potting mixes will have plenty

of nitrogen that is built in to start.


    If you are feeding with liquid fertilizer, I recommend starting at 25% of the stated dosage in the first week of the vegetative stage and then each subsequent week increase the dosage by 25 percent until you're at 100 percent.


    When you notice your lower fan leaves

starting to yellow at a fast pace, you should increase the fertilizer dosage.


    If you notice your fan leaves turning dark green with the tips of the leaves dying off or clawing downwards you should decrease the fertilizer dosage


healthy vegging planting

Plant Training (Topping & Low-Stress Training)


    Plant training is any technique that manipulates the plant's growth pattern to fit a given space. it's needed because if left alone

cannabis plants grow similarly in shape to a

Christmas tree. It focuses all of its energy on

the tallest part of the plant. So a typical cannabis plant will have one maintop stem and several smaller side stems. Outdoors this is perfectly sufficient since the sun can still provide even lighting no matter where the side stems are resulting in a balanced growing plant.


    Once the flowering stage begins indoors this is not the case as their need for light intensity will decrease exponentially. The further away you go from the source resulting in a large bud

on the top stem and much smaller buds further down the plant.


    For most indoor grow spaces, the shape

is also a waste of space as most grow spots have plenty of extra horizontal room to spare. If the plant does not utilize this space light will not reach the lower nodes of the plant. So

training a plant's growth horizontally instead of vertically can ensure that the top canopy is even throughout the entire grow space which

will result in not just an increase in yields at harvest but also more consistency in the harvested bud sizes the two most popular ways to train a cannabis plant with topping and low-stress training topping means cutting off a part of the top stem to prevent the growth from

continuing through the main trunk. It will instead direct the growth to the next node down and since each node sprouts two stamps on either side, they will naturally produce

two new top stems after one topping also has the added benefit of lowering the height of the plant as the side stems are perpendicular to the main stem


    While the plant can take a few days to

develop the branches on the highest node, the lower side branches will continue to form, allowing the lower stems to catch up to the top stems. A lot of times it means that just by

topping once, you get an even canopy of four

main stems.


    You can top multiple times to increase the total amount of stems, although each time a plant is pruned, it takes a few days for the plant to recover. Constantly topping a plant will extend its growing timeline next, we have low-stress training which is the technique of physically bending a stem in the direction you want it to grow without breaking the stem. Tie plants using a twist tie and work great when used in conjunction with the fabric pot due to the built-in grommets that can hold the ties in place train an entire canvas plant to just bring down the main stem to the same height as the side stems. It is called low-stress training which in turn takes advantage of the fact that a canvas plant focuses its growth on the main stems located on the top of the plant. It will trick it into focusing its energy equally among all the side stems that are now suddenly at the top you can also low-stress train individual stems and bring down any stem that starts to grow higher than the ones around it low-stress training does have its limitations. Only the top

few nodes of a cannabis stem are flexible enough to be bent


     If you are considering utilizing low-stress training, you have to start early in the plant's vegetative stage and then continue applying it to any new growth if needed as the plant develops a trellis net is another form of low

stress training that automates the process by dictating a set-top canopy.


    So anytime new growth appears above the

trellis net, you can push it below the netting positioning it to fill out any space that is not needed yet.


    Once the trellis netting is completely

filled with plant stems, the plant can then be flowered, ensuring that all the horizontal space is used.

                       Leaf Defoliation


        As the plant gets larger, it will start to

produce significantly more leaves than needed since in the wild several will get damaged by nature and due to the unpredictability of where the plant might be. You'll want to

ensure that it's able to capture plenty of sunlight from any side in a controlled environment, however, we know exactly where the plant is getting its light from, and because the top canopy is typically blocking all the

grow light from reaching the lower leaves. Unless you are supplementing your grill with the inner canopy lighting these leaves are going to be using up the plant's resources without providing much in return an overabundance of fan leaves will also, cause them to start overlapping trapping moisture between them and this will block airflow from reaching the inner part of the plant both of these problems will promote the growth of mold and mildew as well as creating an inviting home for pests so a light defoliation needed

any time the vegetative growth starts to

become unwieldy.


    When choosing which leaves to remove,

always go with the bigger ones first.

It's easier to remove one big fan leaf than three smaller leaves touching it.


    You also want to start from the bottom

up since the top leaves at the plant canopy are the ones taking in the most light. A good rule of thumb is to remove enough vegetative growth so you can see through the bottom half of your

plant.


When a Flowering plant will on average, double in height in the flowering stage, so it's necessary to flower the plant.


    Once it is half the size of your available grow

space to ensure that it doesn't outgrow this

space.


    It's also needed to solve any plant issues in the vegetative stage before it starts to flower as a delay in growth during the vegetative stage will just result in the plant taking a couple more days to recover while delaying growth during the flowering stage will impact the final

yields.


                                                                almost ready to flower

Different Pruning Techniques

            When your plant gets about five to seven nodes tall you can prune it in order to change the hormones in the plant where it will ...